Attaching Java Fern to Driftwood Without Rotting the Rhizome
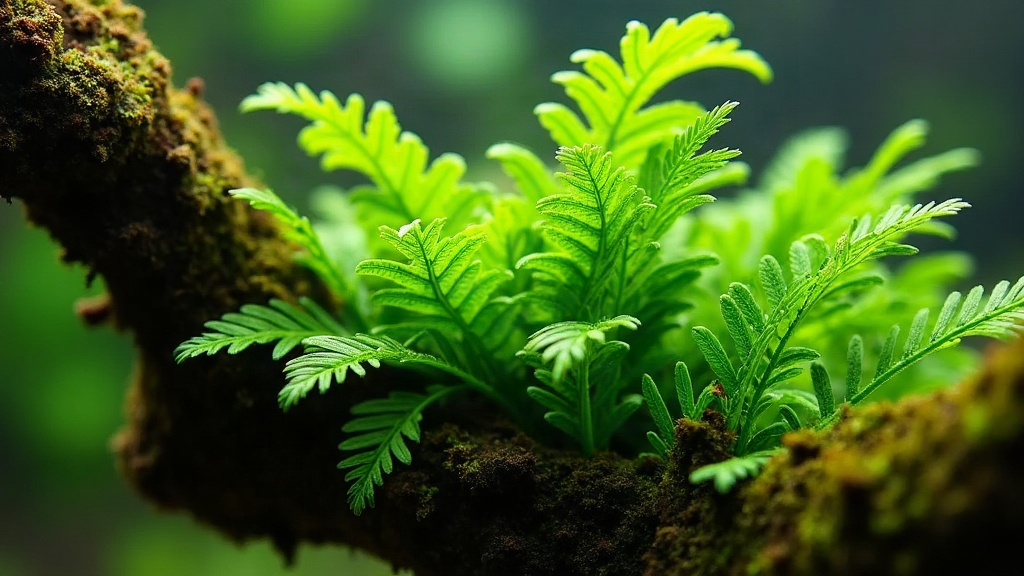
How to Attach Java Fern to Branch Wood (Without Killing the Rhizome)
Java Fern (Microsorum pteropus) is about as forgiving as aquarium plants get. Yet there’s one rookie mistake that kills it faster than almost anything else: burying the rhizome. This guide walks through exactly how to mount Java Fern on branch wood so the rhizome stays exposed, stays healthy, and avoids rot, while the roots quietly do their job of anchoring it in place over the following weeks.
Why Rhizome Rot Happens
Unlike stem plants or substrate-rooted species like Amazon Sword, Java Fern doesn’t actually grow in gravel or soil. Instead, it grows from a horizontal, segmented stem called a rhizome, the part leaves and roots sprout from. That rhizome needs constant contact with moving, oxygenated water. Starve it of flow and it suffocates, plain and simple.
Rhizome rot tends to show up when:
- The rhizome gets buried in substrate or gravel
- It’s tied too tight against wood with zero gap for water to move through
- Thread or glue seals over the rhizome itself, not just the roots
- The tank spot has weak flow, so debris and bacteria just sit and accumulate
Once rot takes hold, the rhizome turns black or goes soft and mushy, and that section simply stops pushing out new leaves. The only real fix at that point is cutting away the dead tissue fast. Honestly, it’s far easier to just prevent it in the first place.
What You’ll Need
- A piece of Java Fern (a single rhizome, or a clump with several fans attached)
- Branch wood, driftwood, or Mopani wood, ideally with a flat spot or a natural crevice
- Cotton thread, fishing line, or thin fishing-grade mesh netting
- (Optional) Aquarium-safe super glue gel, cyanoacrylate based, non-toxic to fish
- A pair of scissors
Skip rubber bands entirely. They break down underwater and tend to trap bacteria right against the rhizome, which is the opposite of what you want.
Step-by-Step: Attaching Java Fern Correctly
1. Trim the Roots (Not the Rhizome)
If your plant arrived with long, tangled roots still clinging to a nursery pot, cut them back to roughly 1-2 cm. This pushes the plant to grow fresh roots that grab onto the new wood directly. Whatever you do, don’t nick the rhizome itself while trimming.
2. Position the Rhizome Along the Wood
Lay the rhizome flat against the wood, tucking it into a natural groove or crevice if one’s available. Leaves should fan outward or upward, pointing away from the wood surface rather than into it.
3. Tie or Glue, But Only the Roots and Edges
This is really the step that makes or breaks the whole process:
- Thread method: Wrap cotton thread around the wood and over the roots only, never the thick green body of the rhizome. Keep the loops loose enough that water can still slip underneath. Cotton thread breaks down in the water over a few weeks, by which time the roots should already have taken hold.
- Glue method: Place a small dot of aquarium-safe cyanoacrylate gel right at the base where roots meet rhizome, or somewhere along the root mass. Never run it along the top or sides of the rhizome itself.
- Mesh method: For bigger clumps, sandwich the plant gently between the wood and a strip of fine plastic mesh, then tie down the mesh (not the rhizome) at the edges with thread.
4. Leave the Rhizome Exposed to Water Flow
Once it’s attached, check that the rhizome sits slightly proud of the wood, not crammed into a tight pocket. Pick a spot in the tank with decent current, somewhere near the filter outflow works well.
5. Wait Before Removing Ties
Give it time. Roots usually latch onto wood within 3 to 6 weeks. Cutting thread too early is a common impatience mistake, it can let the plant shift before the roots have properly gripped.
Common Mistakes to Avoid
- Planting it in substrate like you would a rooted plant, this is by far the #1 cause of rot
- Winding thread over and over directly across the rhizome body
- Slathering super glue across the entire rhizome surface instead of just the roots
- Tucking it into a low-flow dead zone where the tank barely circulates
- Ignoring the first black spots, trim affected rhizome sections right away with clean scissors
Signs Your Attachment Is Working
- Tiny new leaves poking out, often with a reddish or pinkish tint, emerging straight from the rhizome
- Thin white roots visibly clinging to the wood surface
- Zero soft, dark, or mushy patches on the rhizome after a few weeks have passed
Conclusion
Mounting Java Fern on branch wood really comes down to one rule: keep the rhizome exposed to water, never buried, never wrapped tight. Secure only the roots, whether with thread, mesh, or a small dab of aquarium-safe glue, then give the plant a few weeks to anchor itself naturally in a spot with good flow. Get that right and the plant pays you back with slow, lush growth for years, with no rot in sight.