Acclimate Caridina Shrimp to Active Soil Without pH Shock
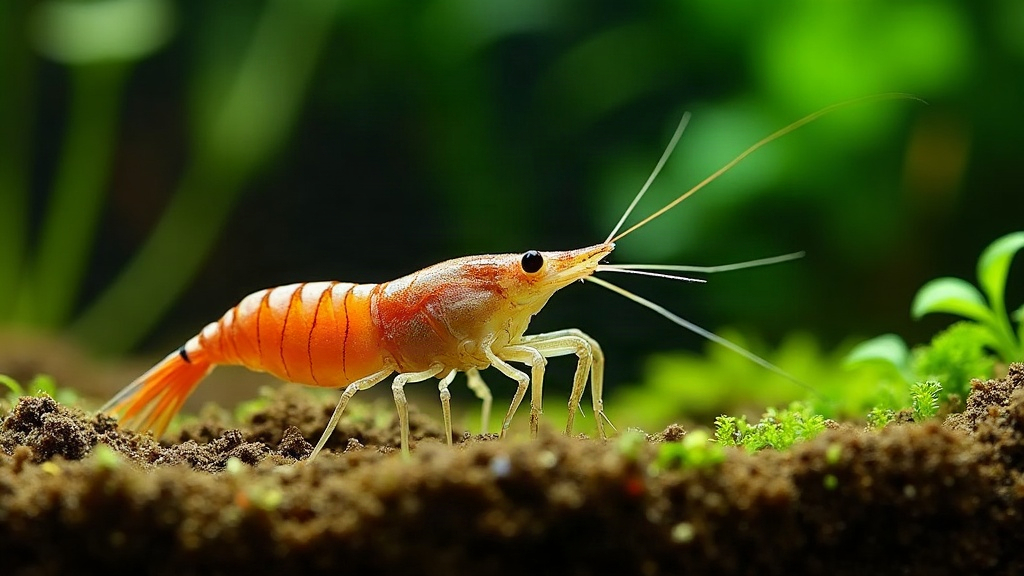
Acclimating Caridina shrimp to active soil isn’t something you can rush. These substrates actively pull pH and KH downward, and if you drop shrimp into that shifting water too fast, you’re asking for trouble. The safest route combines a long drip acclimation (60-120 minutes) with tank water that’s already been buffered and fully cycled on the soil for at least 2-4 weeks before any shrimp go near it.
Why Active Soil Is Riskier Than Inert Substrate
Products like ADA Amazonia, Fluval Stratum, or Controsoil are built to lower pH (often down into the 6.0-6.5 range) and soften water through mineral exchange. Unlike gravel or sand, they don’t just sit there. They keep working for months, which means:
- pH and KH can swing hard during the first few weeks
- Ammonia spikes show up regularly as the soil leaches organic matter
- Shrimp react badly to fast pH changes; even a 0.3-0.5 pH shift in under an hour can send them into shock
Caridina species (Crystal Red, Crystal Black, Taiwan Bee, Pinto, Shadow) are the poster children for this problem. They’re bred to thrive in soft, acidic water, but they have almost zero tolerance for sudden swings, even when those swings are moving toward their ideal parameters.
Step 1: Cycle the Tank Fully Before Adding Shrimp
Never, ever acclimate shrimp into a freshly set-up soil tank. Give the substrate time to mature:
- Run the tank fully cycled (0 ammonia, 0 nitrite) for at least 3-4 weeks
- Test pH and TDS daily during week one, then taper to every few days. Active soil’s grip on pH weakens over time as its buffering capacity gets used up
- Wait until readings settle into a narrow band (say, pH holding at 6.4-6.6 for several days running) before you even think about adding livestock
Step 2: Match Transport Water to Tank Water as Closely as Possible
Before drip acclimation even begins, check how far apart your bag water and tank water actually are:
- Test TDS and pH on both
- If the gap is big (more than 50-80 TDS or 0.5+ pH), plan for a slower, more gradual process than usual
- Don’t forget temperature. Float the sealed bag for 15-20 minutes first so you’re not dealing with two shocks at once
Step 3: Drip Acclimation, the Core Method
For Caridina going into active soil tanks, drip acclimation isn’t optional, it’s the standard:
- Pour shrimp and bag water into a clean container (no metal, no soap residue, nothing that could leach chemicals)
- Set up airline tubing with a control valve, or just tie a simple knot to regulate flow
- Start the drip at roughly 2-4 drops per second
- Let the volume double over 60-90 minutes (go longer for sensitive Taiwan Bees, or whenever the TDS/pH gap is large)
- Periodically pour off about half the water and let the drip keep going, rather than letting the container overflow onto your floor
This slow dilution gives the shrimp’s internal chemistry time to catch up gradually, instead of slamming into a wall of different pH and GH all at once.
Step 4: Watch Behavior, Not Just the Clock
The timer is only a guide. The shrimp themselves tell you more:
- Calm, slow movement: acclimation is going fine
- Erratic darting or jumping: stress signal, slow the drip down further
- Shrimp lying on their side or curling up: possible shock, treat this as an emergency. Don’t rush them straight into tank water, but don’t let them sit in degrading bag water either
Step 5: Transfer Without Dumping Water
Net the shrimp out of the acclimation container and place them directly into the tank. Never pour that old water, loaded with accumulated ammonia and bacteria, into your display tank.
Common Mistakes That Cause pH Shock
- Floating the bag, then dumping shrimp straight in (fine for fish, a bad idea for Caridina)
- Using a brand-new soil tank that hasn’t finished its initial pH drop yet
- Rushing drip acclimation in under 20-30 minutes because you’re impatient
- Matching temperature but ignoring TDS differences entirely
Extra Tips for Sensitive Caridina Lines
- Keep a quarantine/acclimation tub that already matches your main tank’s parameters, ready for new arrivals
- Drop a small piece of the same active soil into the acclimation container so the shrimp start adjusting to its influence early
- Introduce shrimp in the evening with the lights off; it cuts down on extra stress during an already stressful transition
Conclusion
Getting Caridina shrimp settled into active soil really comes down to patience. Let your substrate mature fully first, match water chemistry as closely as you can, and run a slow 60-120 minute drip acclimation while keeping an eye on how the shrimp are actually behaving. Skipping these steps is one of the most common reasons new keepers lose expensive Caridina stock within the first 48 hours. With these delicate little invertebrates, slow and steady really does win.