How to Remove Cyanobacteria From a Shrimp-Safe Freshwater Aquarium
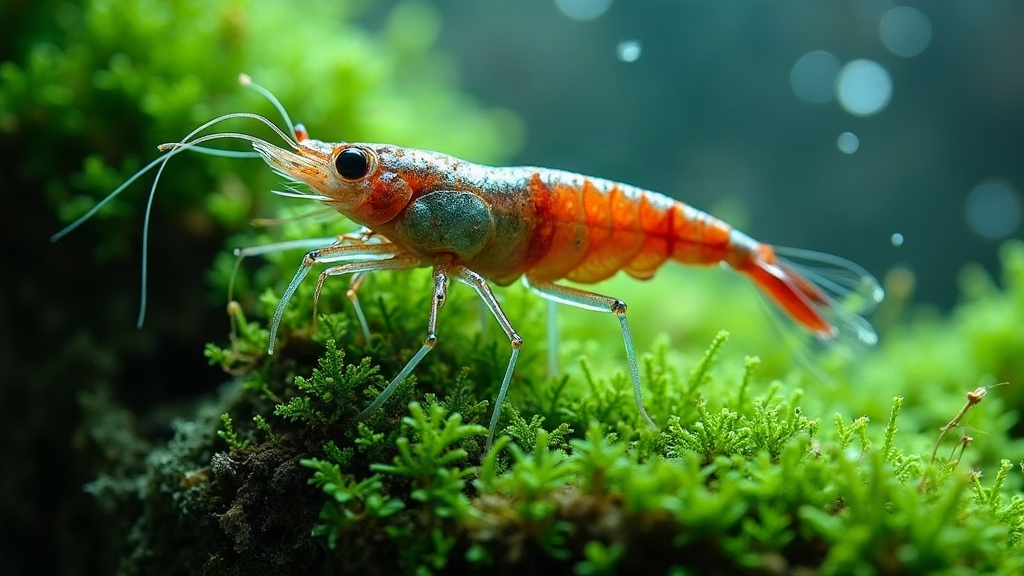
Cyanobacteria, better known as blue-green algae, shows up as slimy, dark green or black mats that reek of swamp water and can smother plants, substrate, and even your shrimp if you let it ride. Here’s the reassuring part: you can wipe it out of a shrimp-safe freshwater tank through manual removal, a blackout period, and some water quality fixes. No antibiotics, no risky chemicals, no gambling with your colony.
What Cyanobacteria Actually Is
Here’s the twist most people miss: despite the name, cyanobacteria isn’t algae at all. It’s a photosynthetic bacteria. That distinction actually matters a lot, because the algaecides that knock out diatoms or green algae often do nothing to cyanobacteria (sometimes they make things worse). And several popular cyanobacteria treatments, erythromycin-based products especially, are straight-up antibiotics. Dose those in a shrimp tank and you risk wiping out the beneficial bacteria your whole nitrogen cycle depends on.
How to spot it:
- Thin, slimy sheets that peel off the glass or substrate in one piece, almost like wet paper
- Dark green, blackish, or sometimes a reddish-brown tint
- A strong musty, swampy smell the second you disturb it
- Tiny bubbles trapped underneath the mat (this one’s a dead giveaway)
Why It Shows Up in Shrimp Tanks
Shrimp tanks are basically a welcome mat for cyanobacteria, and it’s not bad luck. Think about how most of us run these setups:
- Low flow, because nobody wants baby shrimp getting sucked into a filter intake
- Heavy organic bioload, thanks to feeding, molts, and leaf litter (which plenty of shrimp keepers add on purpose)
- Low-to-moderate light sitting on top of nutrient-rich substrate built for plants
Put those three together and you’ve basically built a cyanobacteria incubator: stagnant water, excess waste breaking down, and light that’s too dim for plants to outcompete anything but just bright enough for bacterial photosynthesis to tick along.
Step 1: Increase Water Flow
Cyanobacteria loves dead zones, the corners where water barely moves. Drop in a small extra filter, an air stone, or a powerhead aimed right at those stagnant spots. Just slap a sponge pre-filter or mesh over the intake so shrimp and shrimplets don’t get pulled in. Even a small bump in circulation can stop an outbreak in its tracks within a few days.
Step 2: Manual Removal (Siphon, Don’t Scrub)
Do not scrub it. Scrubbing shatters the mat into thousands of free-floating spores, and congratulations, you’ve just reseeded the whole tank.
- Turn off the filter for a few minutes.
- Use an airline hose or a turkey baster to gently siphon the mat straight into a cup.
- Do this every day during an outbreak. Showing up daily matters more than going at it aggressively once.
Step 3: Three-Day Blackout (Shrimp-Safe Version)
A full blackout cuts off the light cyanobacteria needs, and shrimp couldn’t care less, they’re fine without light for a few days.
- Throw a thick towel or blackout cloth over the tank for 3 days
- Leave the filter running as usual for oxygen and circulation
- Cut back on feeding (skip a day or two) so you’re not adding more waste to the mix
- Siphon out whatever visible cyanobacteria you can before the blackout starts; it speeds things up
Your plants will stall for a bit but bounce back fast once the lights are back on. Don’t push past 4 days though. Live plants and biofilm (which shrimp actually graze on) start to suffer after that.
Step 4: Fix the Root Cause, Nutrients and Waste
Blackouts and siphoning are just damage control. The real cause, nine times out of ten, is nutrient overload.
- Cut back on feeding. Leftover food is basically cyanobacteria fuel. Only feed what your shrimp finish within 2-3 hours.
- Up your water changes. Go to 20-30% weekly while you’re dealing with an outbreak, it helps flush out nitrates and phosphates.
- Vacuum the detritus. Mulm piling up in slow-flow spots is a classic trigger.
- Look at your source water. Well water or tap water loaded with phosphates can keep feeding an outbreak indefinitely.
Step 5: Boost Plant and Light Competition
Fast-growing stem plants and floaters like Salvinia or Amazon frogbit soak up the same nutrients and light cyanobacteria wants, starving it out. If your lighting’s running really dim, try stretching the photoperiod a bit (not cranking up intensity) and pairing it with better flow. Low light plus high nutrients is basically cyanobacteria’s favorite combo, so don’t hand it that.
What to Avoid in a Shrimp Tank
- Erythromycin or other antibiotics. Sure, it kills cyanobacteria, but it also wrecks your beneficial nitrifying bacteria, and an ammonia spike afterward can kill your shrimp just as fast.
- Hydrogen peroxide spot-dosing near shrimp. Works fine in fish-only setups, but it’s a gamble with sensitive invertebrates unless it’s heavily diluted and kept well away from shrimp.
- Copper-based algaecides. Even trace amounts of copper are toxic to shrimp. Skip it entirely.
How Long Does Removal Take?
Mild cases usually clear up in 5-7 days with daily siphoning and better flow. Stubborn outbreaks might need one full blackout cycle plus 2-3 weeks of lighter feeding and more frequent water changes before things settle down completely.
Final Thoughts
Cyanobacteria in a shrimp tank is almost never bad luck, it’s a flow and nutrient issue, plain and simple. Boost circulation, siphon instead of scrub, run a short shrimp-safe blackout, and stop overfeeding, and you can clear it out completely, no antibiotics or sketchy chemicals required. Stick with it for a week or two and most tanks just don’t see it come back.