Keeping Otocinclus Healthy in Newly Established Planted Tanks
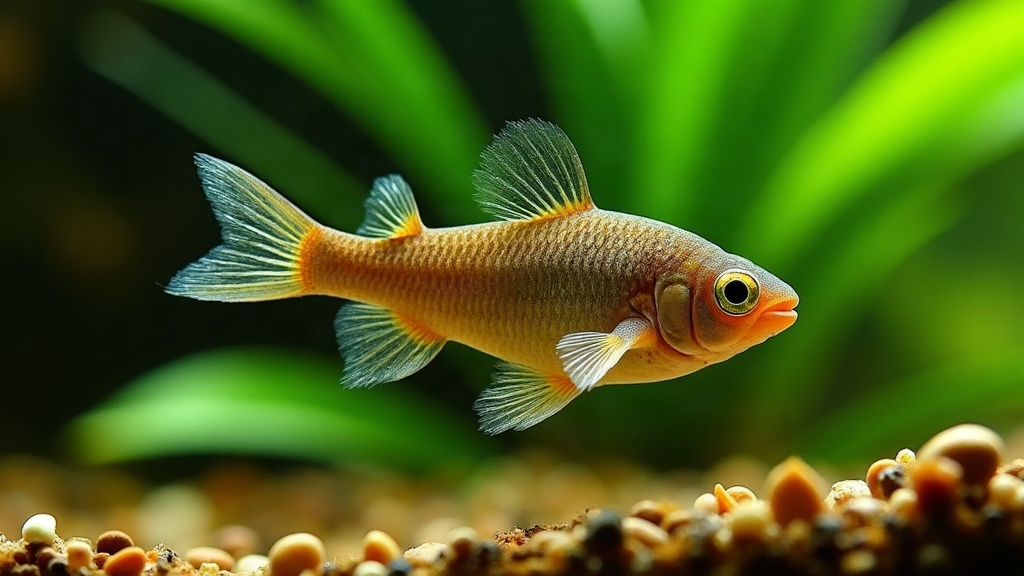
Otocinclus catfish are one of the go-to algae eaters for planted tanks, but here’s the catch: they have a rough track record in brand-new setups. And it’s not the plants that are the problem. A tank can be packed with healthy greenery and still be a death trap for Otos, because what these fish actually need is biofilm and microscopic food, and that stuff simply hasn’t had time to grow yet. Below is a rundown of why this happens and how to actually get Otocinclus through those first fragile weeks in a fresh, heavily planted tank.
Why New Planted Tanks Are Risky for Otocinclus
A freshly planted tank can look like an algae buffet just waiting to happen. Green leaves, good light, maybe even a dosing schedule already in place. But looks are deceiving. Lush plants don’t mean there’s an established food web, and Otocinclus need three things that take real time to build:
- Biofilm, the thin bacterial and diatom layer that slowly coats glass, wood, and leaves over several weeks
- Soft green or brown algae, which needs time to colonize hardscape and surfaces, it doesn’t just appear overnight
- Microfauna, the infusoria and micro-organisms that only show up once a tank has matured a bit
If your tank is younger than 8 to 12 weeks, none of this has had a chance to develop, no matter how well your plants are doing under fertilizer and light. This gap between “looks great” and “actually has food” is the single biggest reason Otocinclus starve within their first two weeks in a new setup. Experienced fishkeepers even have a name for it: New Tank Oto Syndrome.
Step 1: Confirm the Tank Is Fully Cycled
Before you even think about adding Otocinclus, get your water chemistry sorted:
- Ammonia: 0 ppm
- Nitrite: 0 ppm
- Nitrate: under 20 ppm (5 to 15 ppm is the sweet spot for a planted tank)
Otocinclus have almost zero tolerance for ammonia or nitrite. Even a trace spike can send them into rapid decline, clamped fins, lethargy, dead within days. Don’t test once and call it good. Test daily for a full week before you add any fish.
Step 2: Let the Tank Mature. Don’t Rush It.
Cycled doesn’t mean ready. Give the tank another 4 to 6 weeks minimum after cycling before Otos go in. During that stretch:
- Keep lights on a normal 6 to 8 hour photoperiod so algae and biofilm can actually form
- Skip the aggressive water changes for now, since stripping the tank too often removes the very biofilm you’re trying to grow
- Toss in a piece of driftwood, or borrow a decoration or two from a mature tank, to give microfauna a head start
If waiting is killing you, stock something hardier first, small rasboras or corydoras are good options, and hold the Otos until you can actually see a soft algae film forming on the glass.
Step 3: Provide Supplemental Food From Day One
Don’t gamble on plants and natural algae doing all the work, especially in month one. Back it up with:
- Blanched vegetables: zucchini, cucumber, or spinach, clipped down so they don’t float away
- Algae wafers (sinking ones, never floating) dropped near the substrate at night
- Repashy gel foods made for herbivorous or omnivorous species
- Indian almond leaves, which grow biofilm fast and get grazed on almost immediately
Feed in the evening, Otocinclus come alive once the lights go down. Check their bellies regularly. A round belly means things are fine; a flat or sunken one is your early warning that something’s wrong.
Step 4: Buy Healthy Stock and Acclimate Slowly
Here’s an uncomfortable truth: a lot of Otocinclus deaths have nothing to do with your tank at all. Shipping stress hits this species hard, and many arrive already weakened. So when you’re buying:
- Pick a vendor known for slow drip acclimation, not a five-minute float-and-dump
- Look for fish that are active, rounded, and clear-eyed, skip anything sunken-bellied or sluggish
- Quarantine for 1 to 2 weeks if you can manage it, feeding blanched veggies the whole time to build up reserves before they hit the display tank
Step 5: Maintain Stable Water Parameters
Once your Otos are settled, they’ll do best with:
- Temperature: 72-78°F (22-26°C)
- pH: 6.5-7.5
- Soft to moderately hard water
- Solid flow and oxygenation, stagnant water is a hard no for this species
Keep at least 5 to 6 together. They’re shoaling fish, and a lone Oto tends to hide and stress out, which tanks its feeding activity even further.
Signs Your Otocinclus Are Thriving
- Bellies that are rounded, not pinched
- Constant grazing on glass, leaves, and decor, day and night
- Fish out and foraging, not glued to one hiding spot
- Clean, healthy coloration, no cloudy patches, no clamped fins
Conclusion
Getting Otocinclus through a new planted tank really comes down to two things: patience and backup food. Make sure the cycle is truly finished, give the tank a few extra weeks to build up biofilm, feed blanched veggies and algae wafers from day one, and start with healthy, properly acclimated fish. Do that, and your Otos have a real shot at becoming long-term residents of your tank instead of another new-tank casualty statistic.